


DIY Toy Ideas for Your Child
Some of the benefits of DIY toys are financial as they typically are a lot cheaper than something store bought. However, another reason DIY toys are so great is that you can tailor them to your child’s interests (that can change so very quickly) and DIY toys encourage the parent’s interaction. It’s known from studies that it’s these early give-and-take conversations between parent and child that are so crucial to their ongoing cognitive health. When a flashy store bought toy is placed in between the two parties that might reduce the length of the conversation/ interaction. Here are a few ideas for some easy and cheap DIY toys:
DIY Toilet Paper Roll Blocks

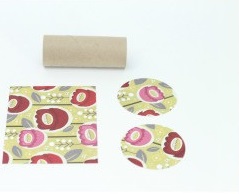
For each block you’ll need one empty roll, two 3″ circles, and one rectangle that’s roughly 5.5″ X 4.25″
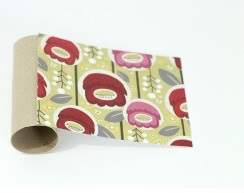
 Smear hot glue down the short side of one rectangle and press on to the toilet paper roll, smear hot glue down the other short side, wrapping it around the roll and pressing firmly to overlap
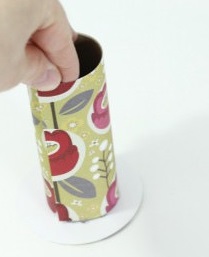
Dab hot glue dots all around the open end and press the glued side firmly down on to the circle, do the same for the other side.
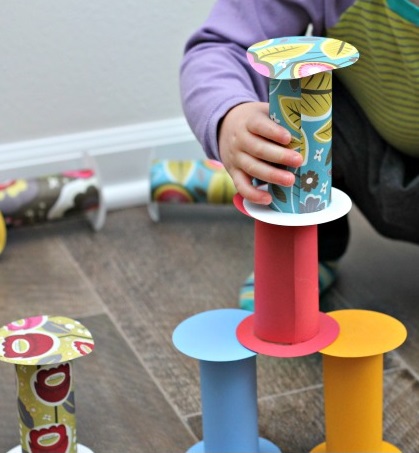
 These blocks stack easily and can be used many different ways. You can use them as “bowling pins” and children also enjoy rolling them down ramps and stairs. This could also be a great craft project for older kids as they can help decorate the “blocks”. Decorate them as animals or turn them into “learning blocks” with letters or numbers. The possibilities are endless.
DIY Mailbox
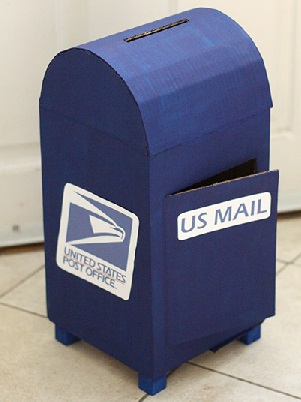
It’s always fun to play “post office”, to write letters, put stamps on postcards and letters and to deliver them. We thought creating our own mailbox would make this fun “pretend play” more exciting. If you have boxes laying around your house this mailbox is fairly easy to make. A tall rectangular box with a square base would be ideal, but any box you have will do.
Instructions:
On two opposite top flaps, draw a semi-circle as wide as the flap. That will be the curved top of the mailbox.
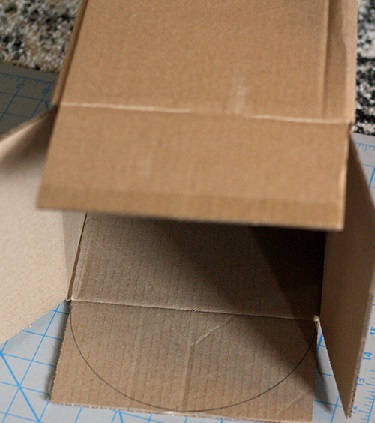 Using sharp scissors or an exacto knife, cut along those semi-circular lines. Then use half of the flaps you cut off and glue them inside the box to reinforce the semi-circle flaps and keep them standing straight up.
Decide which side will be the front, draw a rectangle and cut along 3 sides, leaving one tall side uncut.
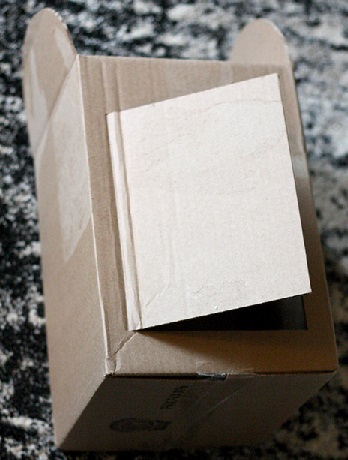
Find or cut a flat piece of cardboard that is equal in width to the distance between the two semicircular flaps for the top of the mailbox. Then use a ruler and an exacto knife and score parallel lines on the back side across that width about an inch apart. You just need to lightly cut the very first layer of the cardboard. Then fold the cardboard gently so it starts to curve.
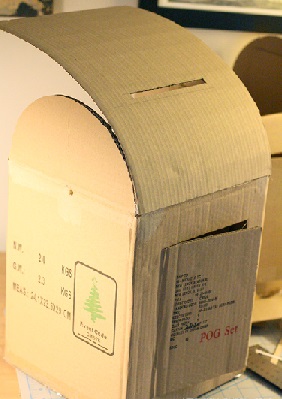
Hold your curved top piece in place and measure how long it will need to be-this is basically the length of the top curved edge of the mailbox and cut it to length. Then draw and cut a slot for the mail to go in the middle of the top. Finally, use hot glue to attach it to the top. Try and keep the glue on the inside.
To make the mailbox more realistic looking you can glue 4 1″ wooden blocks to the bottom for the feet (not necessary).
After the glue is dry, paint the box “mailbox blue” with acrylic craft paint.
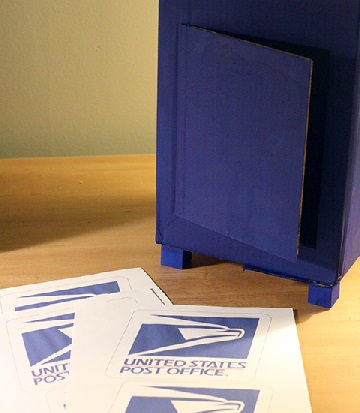 For the logos, you can find the images with a quick Google search and print them on regular paper, cut around them and glue them on. You could also paint them if you wanted.
Alphabet Monster
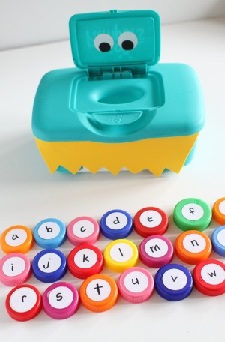
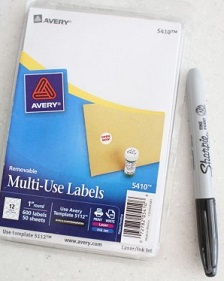
Items needed: A plastic baby wipes container, bottle caps, and 1″ stickers and a sharpie pen.
Decorate the baby wipes container with colored paper, googly eyes etc. to turn it into an “alphabet monster” (or anything else you think your child will enjoy feeding) while learning the letters, numbers, words (pictures) you decide to put on the labels.
Write letters (either capital or lowercase) on the stickers.
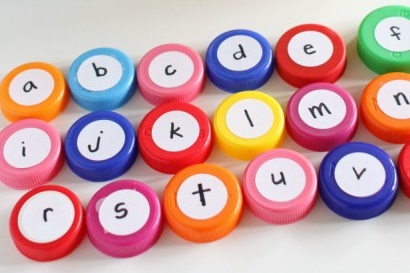
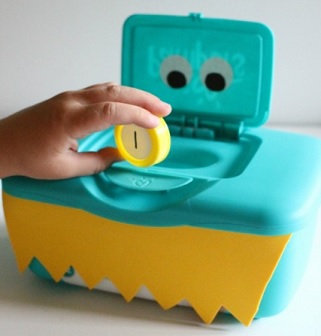
Have your child “feed” the caps to the monster one at a time while saying each letter.